

Anyone who’s ever tried to tackle this daunting task, knows that it’s hard to stay organized!
Murphy’s Law dictates that as soon as you get one area cleaned up and looking nice, it’s full of stuff again within five minutes! So aggravating!
As a photographer it can be even more difficult to keep your work areas cleared and organized, so I wanted to share with you what’s on my desktop so share what works for me!
 On My Desktop
So above is a picture of what my desktop looks like on a pretty regular basis. I’ve got a few different categories that I sort things into, and this helps me know where I am on a particular project or photo shoot and what still needs to be done before I can file the images away on my hard drive for safekeeping. All of the images that I currently have in the queue, are placed into folders and sorted on the desktop according to where in the process I am with the images.
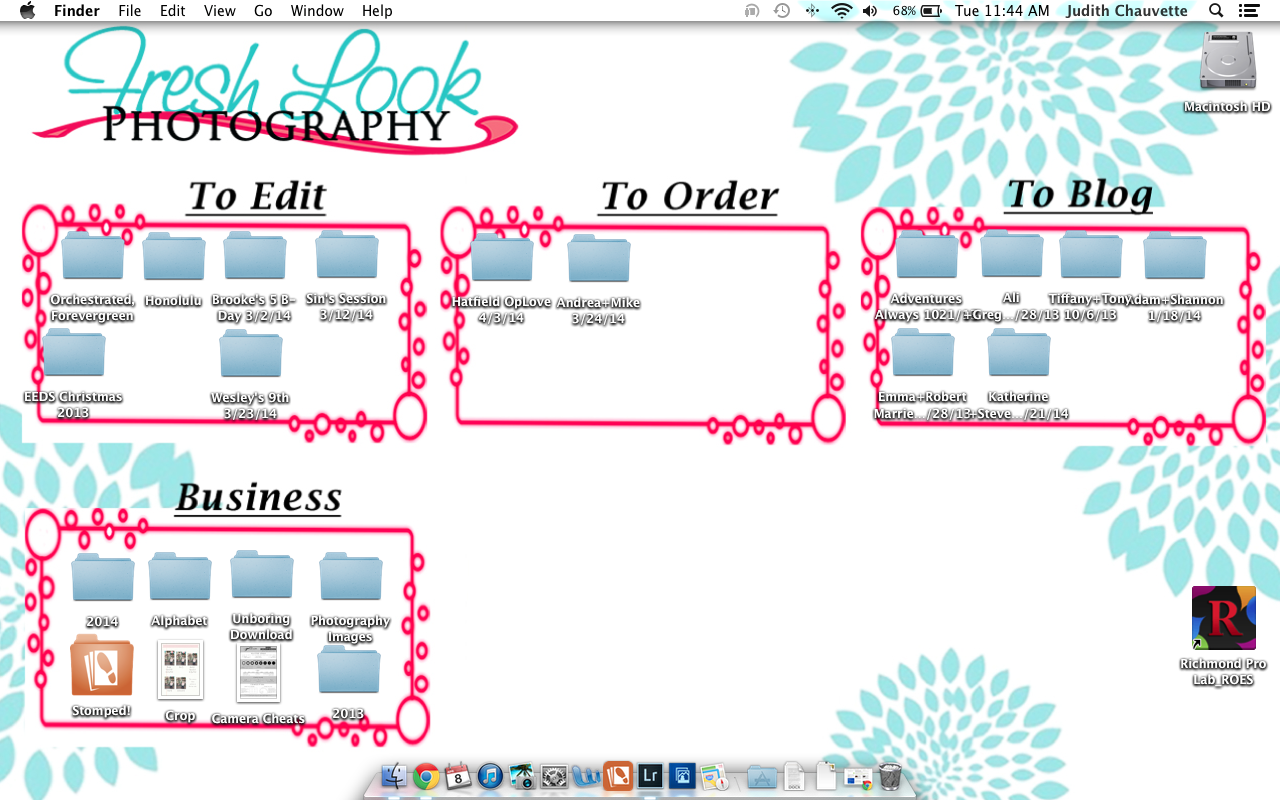
 To Edit

All the pictures that I need to start working on (of finish working on!) get placed in a folder and put in the “To Edit” box. From there, they will get imported into Lightroom and I’ll edit the pictures or do whatever I need to do, and they will be moved on to the next box.
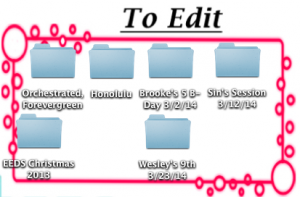
 To Order
Once I’ve finished working on all the images from a particular session, the folder gets moved to the “To Order” box.
From here, I will set up a viewing session with the client, have them over to see the pictures from their session, and if they place a print or canvas order, the folder stays here until that has been fulfilled. This box is helpful for me particularly because I can see who I need to remind about coming to see their pictures or giving the client a reminder to place their order.
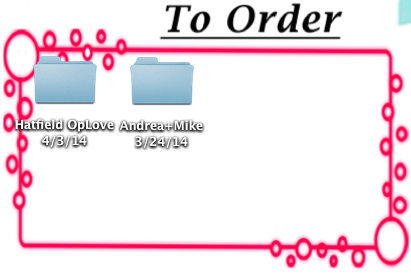
To Blog
This box is pretty self explanatory: once I’ve edited the images, done a viewing session and placed the print order, the folder gets moved to the “To Blog” so that I can write a personal blog post about each of my clients and share images from their session. This is one of the best parts for me because I get to share all the awesome photos, as well as personal details about each specific session. Hands down, this is one of the things that clients say they really LOVE!
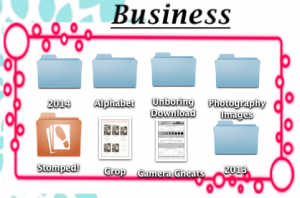 Business

This box is where the images from a client session go when they die 😉
No, I’m just kidding, but this is the last stop for the files until the end of the year.
So after I’ve done all the previous steps and I’m completely done with the specific folder, I will file it away according to the year and type of session that it is (Family, Engagement, Wedding, etc). Once it goes there, I have it readily available until the end of the year, at which time I simply export it my external hard drive and take it off my laptop.
This box is also a good catch all for anything else that doesn’t neatly fit in any of the other boxes (such as the images I have showing the crop factor and camera cheats).
So there you have it!
That’s my system and what works for me on my desktop and for keeping everything organized! Do you have a system that works for you? I’d love to have you share it with me, because what works for one person isn’t necessarily going to work for everyone!


Leave A Comment