
This week has been awesome so far, and the good news just keeps coming! We just launched our Youtube channel (you should definitely go check it out!), and the first thing we created was a flat lay video tutorial. In this clip, Judith (boss babe extraordinaire) shares the how-to behind creating a successful flat lay image, uses for these images, and gives two different examples of flat lay setups that anyone can create (regardless of whether you’re a photographer or not).
Flat Lay Video Tutorial
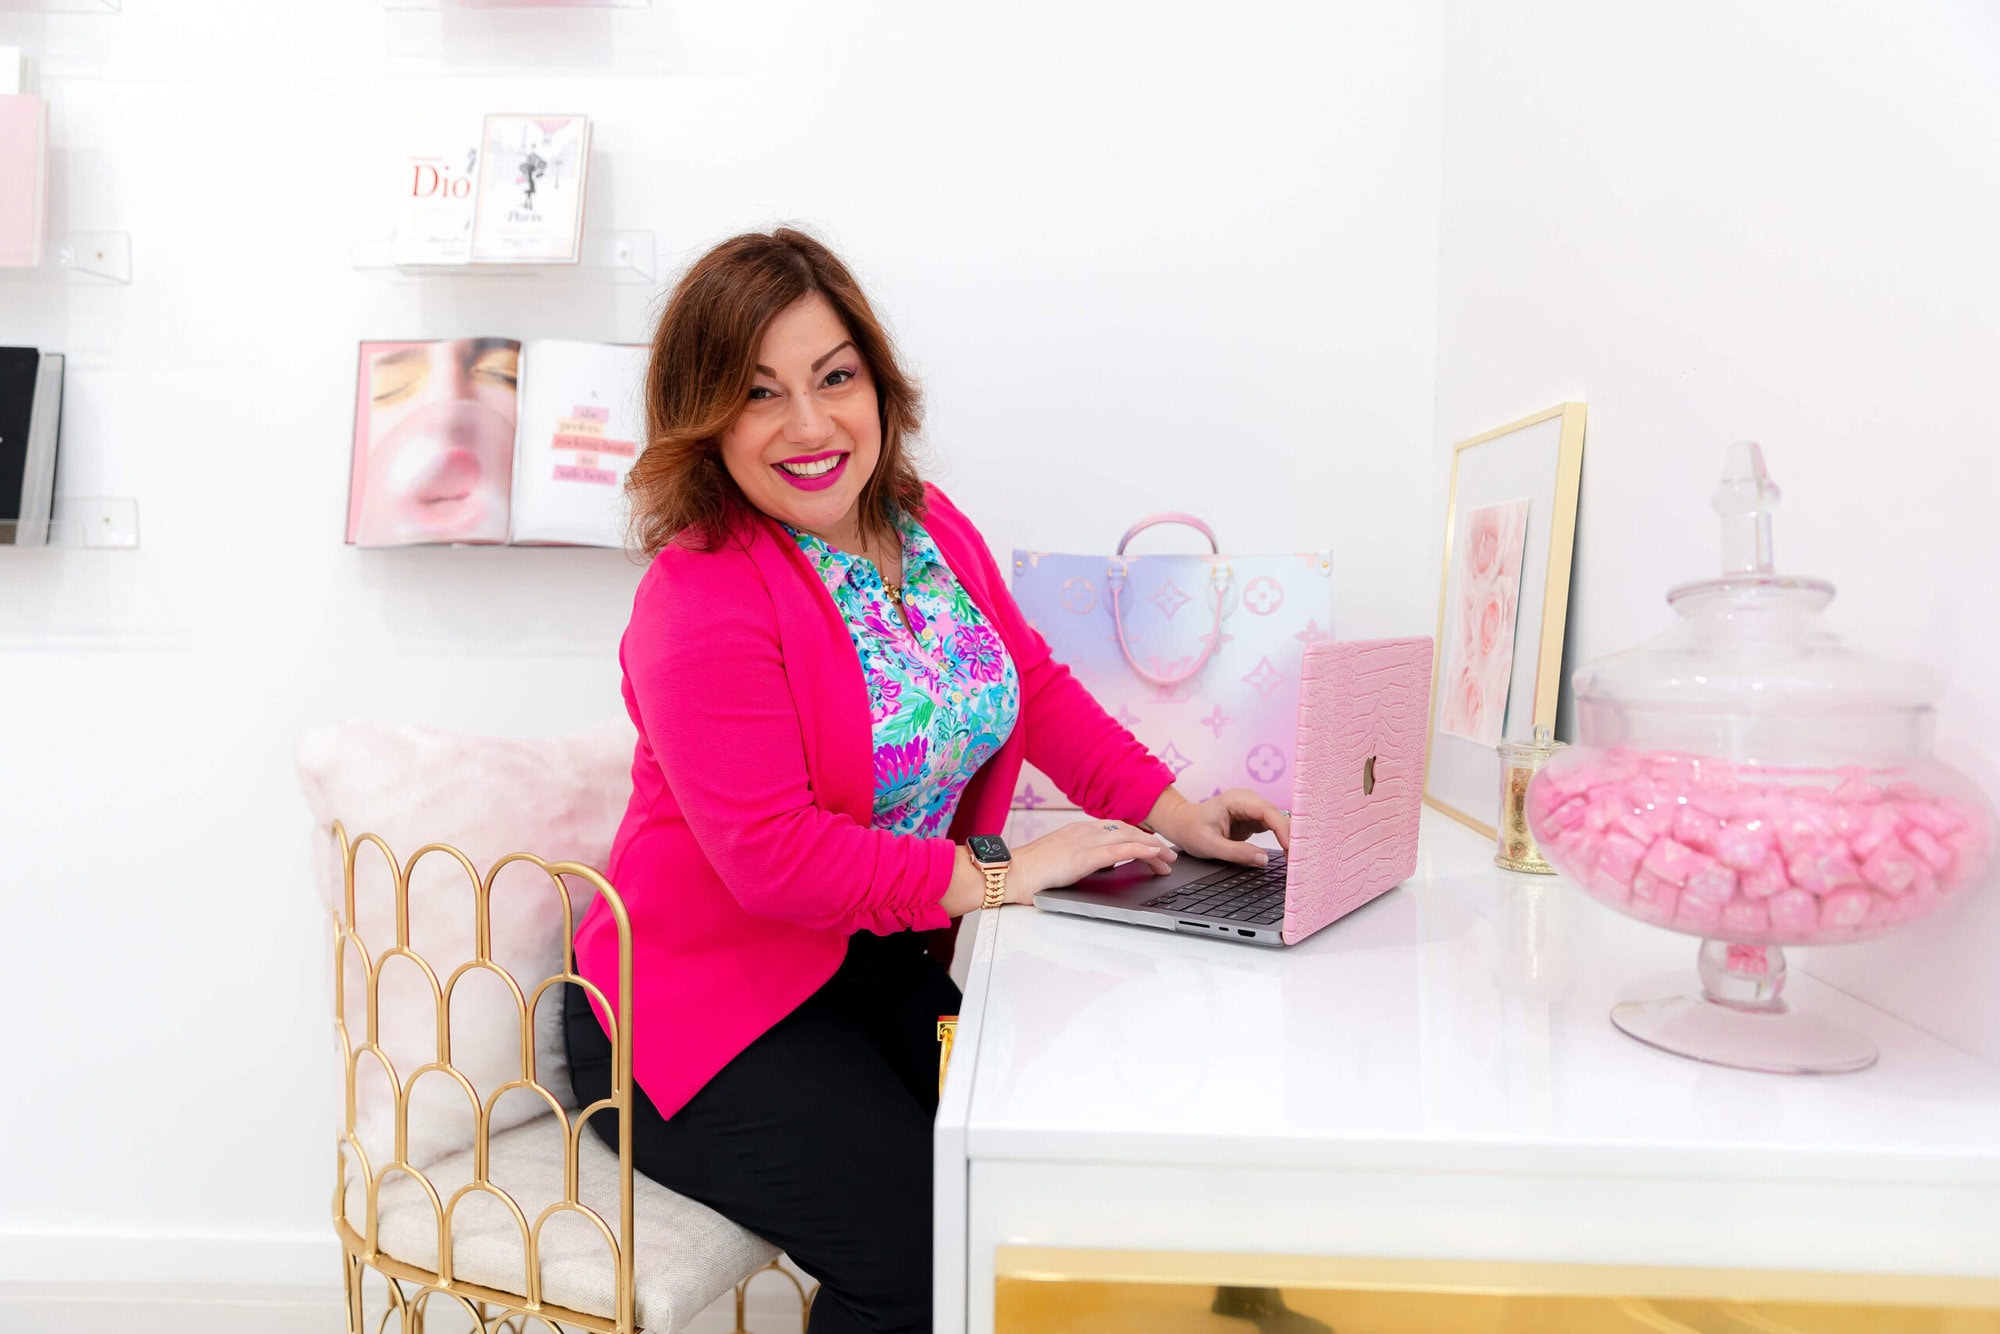
I first got interested in doing flat lay photography when I discovered Oh Tilly Styled Stock Photography, a gorgeous gal who lives and works over in England. She was very inspiring and – even though I’m not anywhere as good as she is – it has been so much fun to experiment with this type of photography and create something new and different!
What is a Flat Lay?
A flat lay photo is a great way to showcase your products, services, or even just something to pretty up your social media feed. Flat lay photos can be as simple or as elegant as you want them to be: everything from dumping a backpack onto your desk and finding the best light, to getting a white backdrop and artfully arranging each element in the frame.
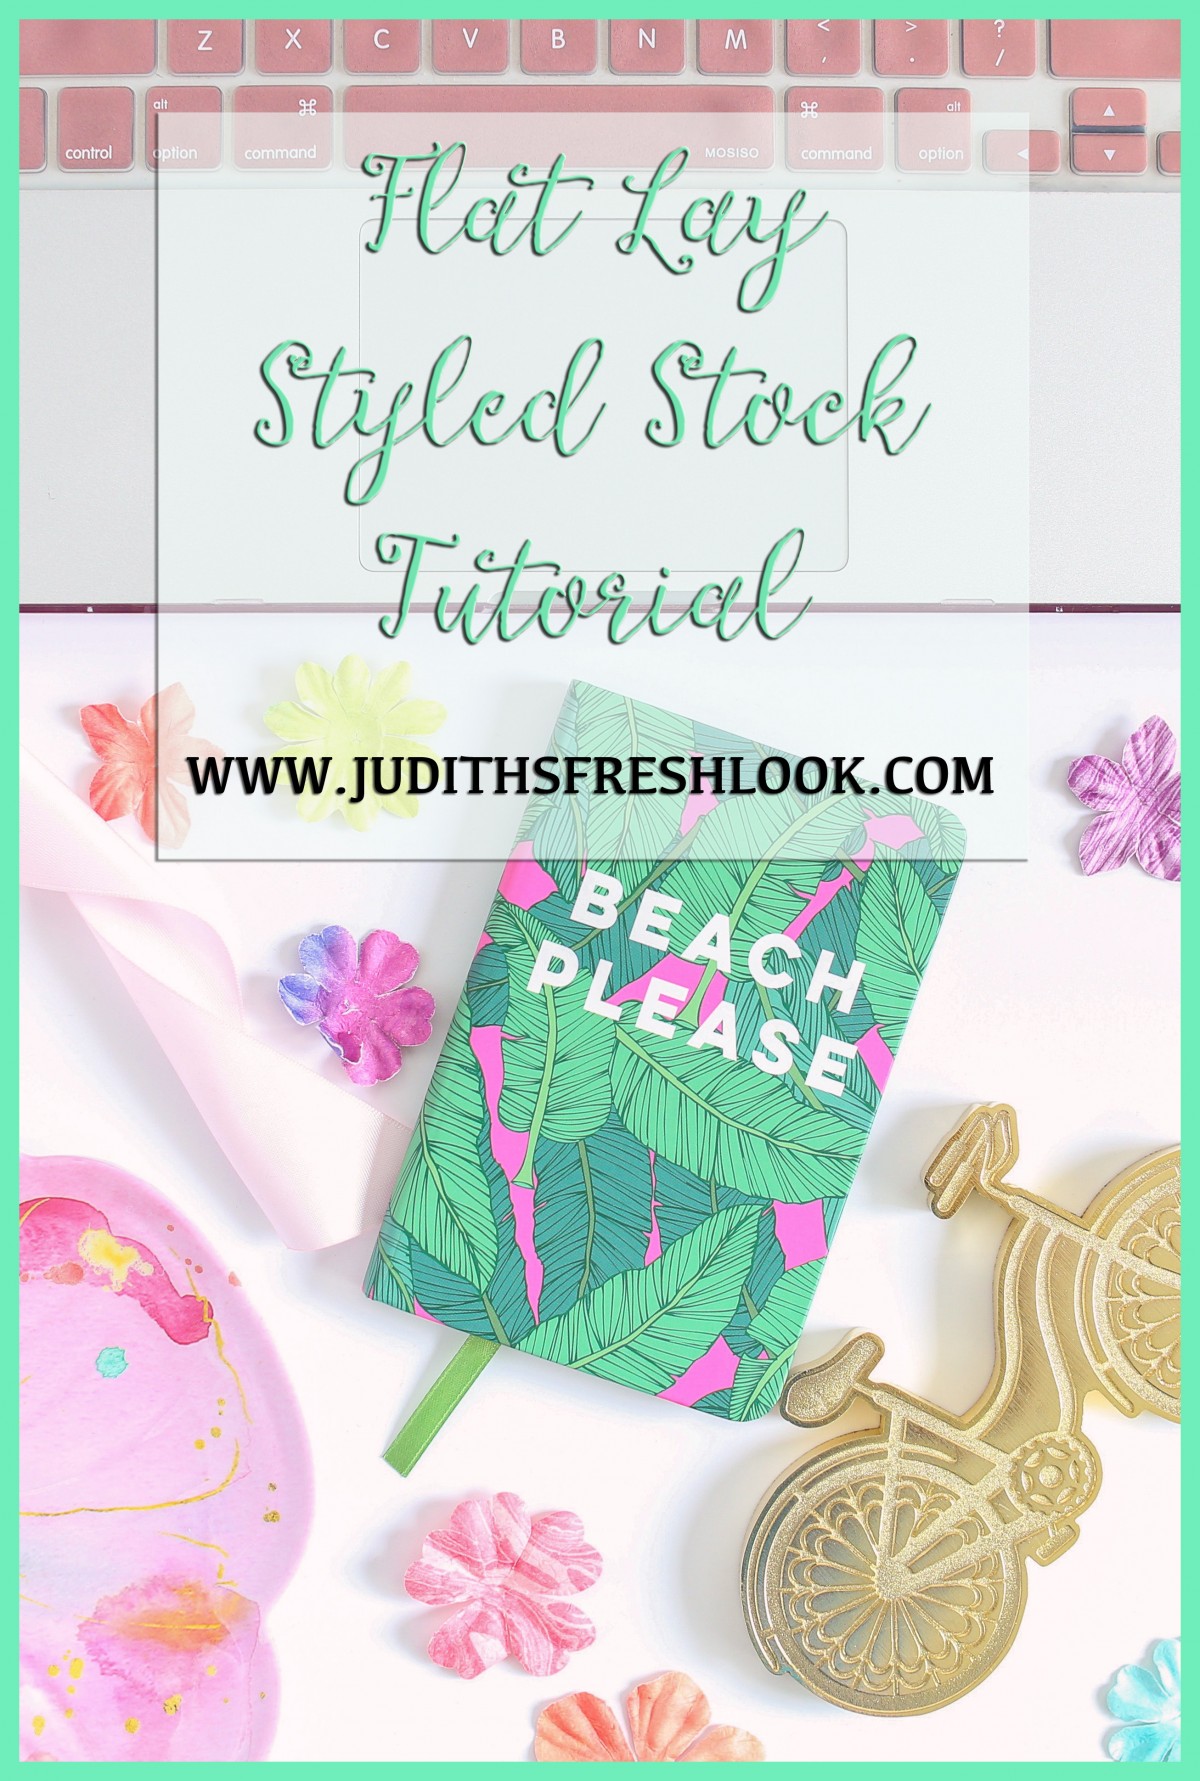
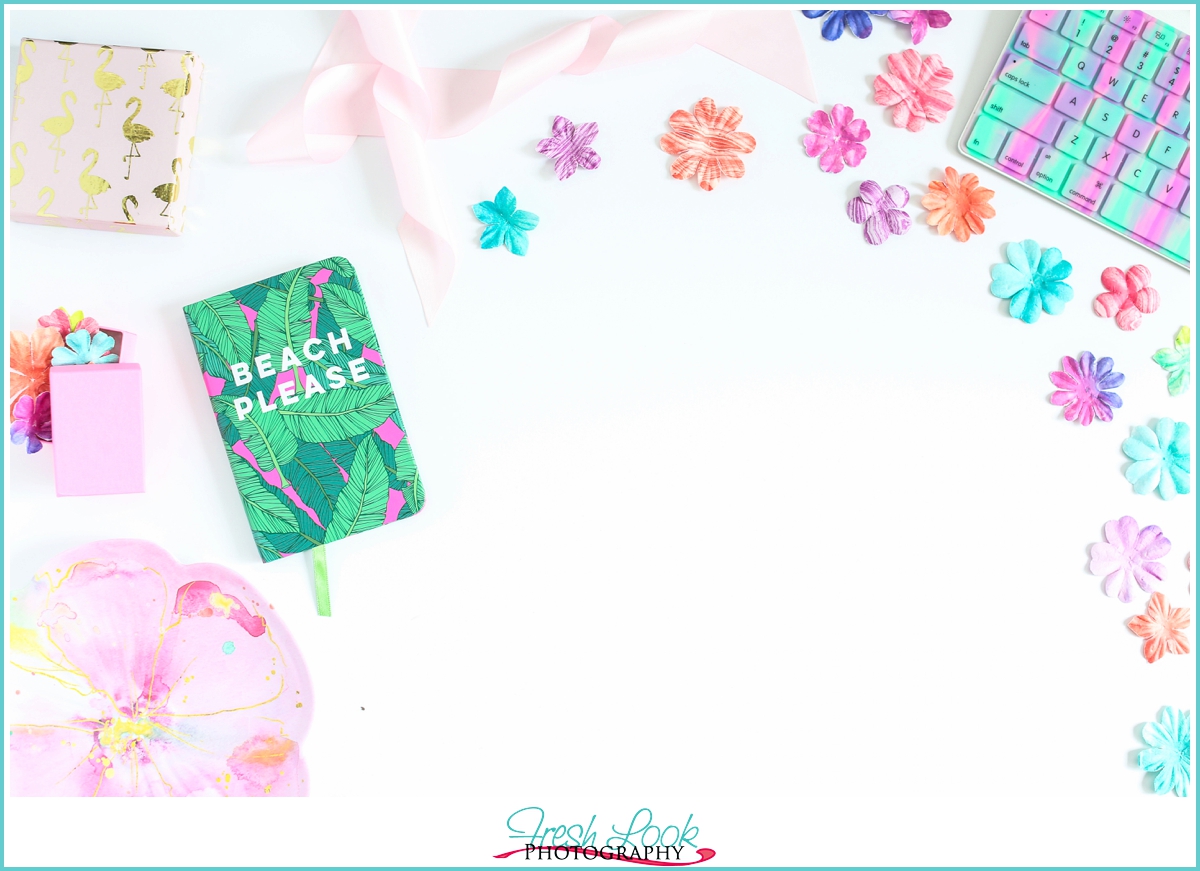
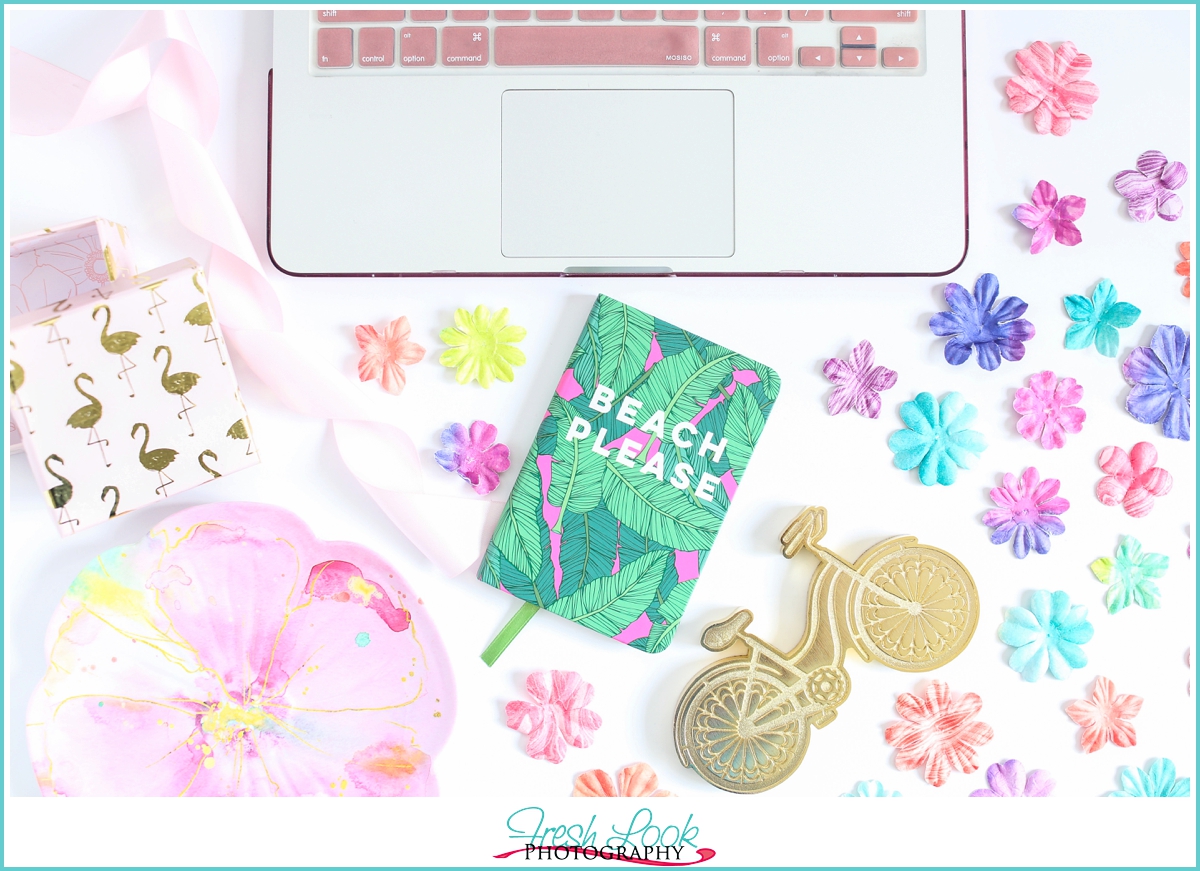
For these flat lay images, I simply got a bunch of like items together (in this instance, pink/beachy stuff) and arranged it in the frame two different ways:
- with space in the middle so I can use it and add text/graphics to the image (a great thing to do when you’re creating blog post headers!).
- with the frame completely filled, and almost no white space so the image looks “full” without being crowded.
Here are a few of the images we created in the video below.
View Our Flat Lay Video Tutorial
Click here to see the process and how we got these amazing images!


Love this! I’ve been trying out how to do these myself on my Instagram. New to flat lays!
Thanks so much Hannah, please let me know if you need any help 🙂
Awesome!! I’ve been trying to learn how to do flat lay properly, thanks for the help! Congrats on the youtube channel as well!
Thanks so much Lauren, so glad that you liked it! Feel free to let me know if you need anything, I’d be happy to help 🙂
Awesome tutorial Judith, I love it! And I love that you took the time to explain why someone would need the images with and without white space. That’s so important. :>
Eeekkk, thank you so much!!! You are amazing lady 🙂
What a nice tutorial Judith, loved it. Thanks for sharing, take care…
Thanks so much for watching the video!