

This week we spent a lot of time chatting about Motion and Travel photography, but also touched base on how to read the flashing highlight alert warning (blinkies) and the histogram in your camera’s view screen for each photograph you take.
Learning to read the histogram for each photograph you take is essential because with digital image making you need to ‘expose for the highlights and process for the shadows’. Which means that you are exposing for the ‘texture highlights’ because the highlights are the most important tonality as they can’t be recovered in digital. Once they go white they are gone, you cannot get a texture out of them again but you can still recover the dark areas.
Motion and Travel
Motion Photography
This week we looked at motion photography. The different types are:
- Freeze the motion (p. 84)
- Panning with the subject/background blur (p. 88)
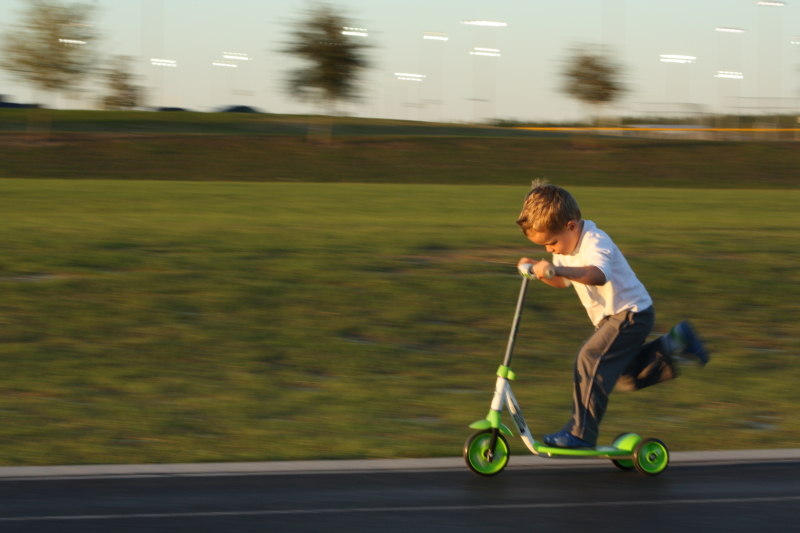
- Implying motion (p. 92)
- Abstract (Blur of the whole scene)
- Zoom blur
For some good explanations of the different types of motion photography check out this site. Also, this link has some great info on places to practice your motion photography.
Check out this link for more info on panning.
Panning tips
Panning can only really be done effectively when you are prepared for it. You have to find a place where you know someone or something will be moving.
How to pan:
- Pre-focus your camera on the spot where you expect your subject to appear.
- Frame your shot and wait for the subject to approach the edge of your frame.
- As soon as the subject enters the spot you focused on press the shutter button and keep it pressed (using your camera’s continuous shooting mode).
- As you’re doing this follow/pan the camera with the subject. When you pan a few things are important:
- The movement of the subject has to be in a fairly straight line (refer to the diagram).
- The wider your angle of view on the scene, the wider your pan can be.
- Make the pan motion as smooth and as straight along the horizon line as possible.
- Any camera shake or movement up or down will result in additional, undesirable smearing/blurring.
- Expect your success rate to be rather low with this technique. It may take many shots to get one which is “just right”. Stand in one place and take about a couple dozen photos of the same sort of stuff. Practice, repetition and perseverance will get you there.
Technical:
- For best panning results the shutter speed should be set around 1/6s to 1/20s. The slower the subject – the slower the shutter speed.
- Set your F-stop number to at least f/5.6, but there’s no optimal setting for this.
- You can make panning shots with virtually any lens, but remember, it should be easy for you to hold it so as not to cause camera shake and additional smearing/blurring. A zoom lens is best to do this.
Travel Photography
We also talked about travel photography. If you don’t travel often then you may want to practice by learning to see where you live in the eyes of a tourist. Take a look at the website A Walk Through Durham Township which has some great examples of being a tourist in your own town as well as some wonderful photographs.
Here are a TON of tips and tricks for travel photography.
The folks at National Geographic are pretty much travel pros, they’re great for inspiration!
If you want to take your pictures to the next level, this Buzzfeed article will definitely help.
How to be a Culturally Sensitive Travel Photographer.
 Homework

You have your choice of what photography assignment you want to tackle, please pick one:
~ Do two types of motion (panning, implied, etc) (at least 1 pic for each type of motion)
~ Be a tourist in your own town, tell us a story with your pictures about somewhere you went locally, so we can see what you did while you were there. (4-5 pics)


Leave A Comment