Hey there and welcome to week 1 of classes with Hermitage Museum digital photography!
This is our class blog – the place where you can find information on each week’s class as well as further reading on the topics that we discuss and additional links.
I will be adding information each week, so please bookmark the site and check back often.
Make sure you grab a copy of our class textbook, as I will be assigning readings each week.
Understanding Exposure, 4th Edition: How to Shoot Great Photographs with Any Camera ~ Bryan Peterson
.
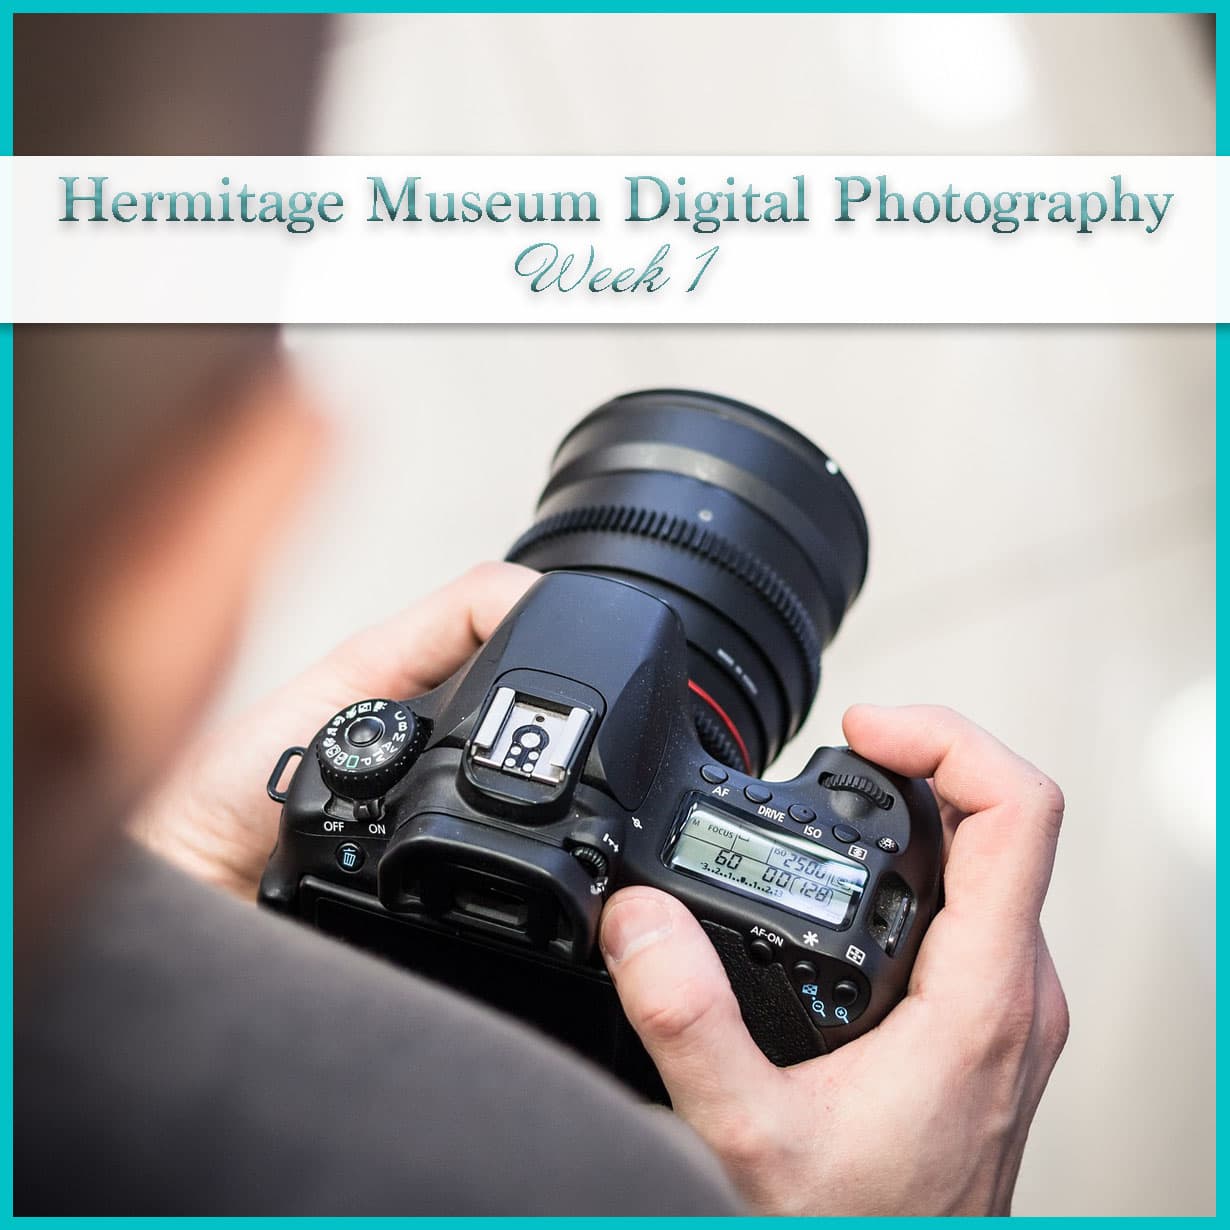
Hermitage Museum Digital Photography – Week 1 Recap
 Some of the topics we discussed:
- Students had a look at what’s into my camera bag – remember that’s my wedding bag, my normal camera bag only has one camera and two lenses.
- We learned about the different types of lenses and their uses. Zoom lenses (lenses that move from a wide-angle to a telephoto or some variation) and prime lenses (a fixed mm lens) and the variations of each – wide, standard and telephoto. Here’s a link to some great articles about different lenses and how to choose the best one based on what you like to take pictures of.
- We did a basic setup of your camera.
- I went in-depth discussing manual camera functions, students learned how to set them on our cameras
- Talked about the 3 P’s in Photography: Practice, Patience and Persistence.
- We covered different lens options as well as types and sizes of digital files (we will be shooting hi-resolution JPEG files in this class).
- For creating a proper exposure, we discussed using your camera’s built in light meter to read the light (the little bar at the bottom when you look through your viewfinder).
Students spent a lot of time learning about the three pillars of the photography exposure triangle:
- ISO – controls how much light your camera lets in.
- Aperture/F-Stop – how much (or how little) is in focus in your image.
- Shutter Speed – how quickly the camera shutter opens and closes.
Next week we will talk about Camera Metering Modes. Go ahead and read about them so that you have a basic understanding when we do.
The main ones are evaluative/matrix, center weighted and spot metering. You will mostly use evaluative/matrix metering. Your camera is set to it by default.
.
Metering Sequence
Please note: Before taking any photos make sure your camera’s mode dial is set to “M” and check your ISO. You will want to set it for your lighting conditions: 100 for bright sunlight, 800 – 1200 if it’s overcast, 1600 – 3200 (or higher) if it’s dark.
- Choose what’s most important for the situation:
Set either the shutter speed or aperture first.
Then choose what is next most important and set that.
This leaves you with only one thing left to adjust (usually your ISO). - Meter: get the light meter to zero out by changing the various settings
- Shoot: take the picture
- Look: check it out. Is it too bright? Too dark?
- Adjust: change one of your settings to adjust the exposure
- Shoot: take another picture
- Look: how does it look now?
- Rinse, Wash, Repeat: repeat steps 3-6 as necessary to get an exposure that makes your heart happy.
Please remember to bring your camera and manual to class each week as we will practice shooting during each class.
.
Photography Homework:
- Introduction and Chapter 1 in our textbook
- Read your manual: put sticky notes on pages you want to remember. Go back and re-read it again. (we want to make this stuff stick!)
.
Photography
- Shoot at least 3 everyday items and make sure to photograph them in good light.
- My recommendation would be don’t try to shoot things indoors in low light yet because it can be more difficult.
- Take at least 30 shots of different items and pick out your favorite 3 images.
- Print the images in 5″x7″ format and bring to class with you next week.
It doesn’t matter where you print for this class, Walgreens/CVS/Target – somewhere convenient for you.
.
Life happens fast – if your camera is in your bag in the closet you will miss a lot of good photography opportunities.
I want you to start keeping your camera out and within arms reach as much as possible.
.
Start being aware of the light around you.
Watch how light changes at different times of the day and during different weather conditions.
Look around your house.
Do you have an area that gets really nice natural light?
Is it all day or just at certain times of the day?





Leave A Comment