
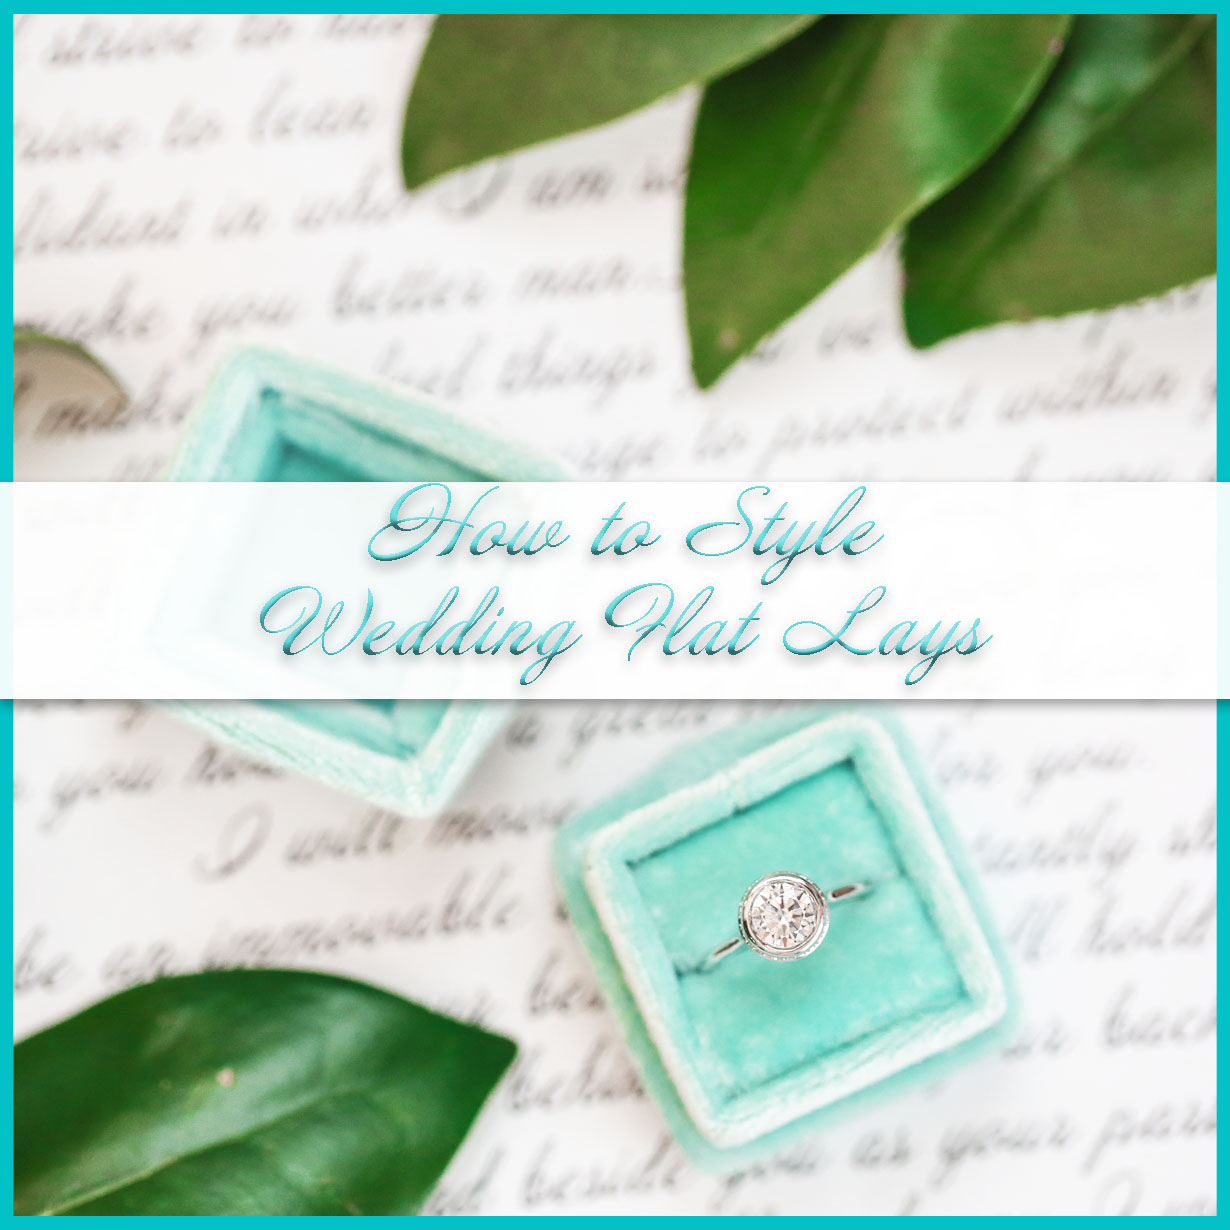
Today we are chatting about how to style flat lays for weddings.
This topic takes two things I really love (weddings and flat lays) and marries them together beautifully.
(see what I did there?) 😉
Preciously, I did a post on the general idea of creating a flat lay, and you can see that via this link.
But today I want to dig a little deeper with y’all and create some wedding gorgeousness!
.
How to Style Flat Lays for Weddings
1) Choose Your Background
This is the most important step because it really sets the tone for the rest of your image.
Are you looking to create something that’s dark and moody, or are you trying to keep things lighter and brighter?
If you have the option to use a styling board, that’s an easy fix for creating clean, simple backgrounds.
However, I personally love finding a unique surface at the venue we’re at, and incorporating that into the photo.
Wood has so much texture, without being busy.
Marble is pretty and looks very upscale.
And if all else fails, plain white is always a winner!
.
2) Gather the Items to be Photographed
When it comes to wedding flat lays, the items are usually going to be pretty specific.
But here are a few ideas of things to include in your flat lay photo:
- Wedding Rings
- Stationery
- Shoes
- Loose Florals (always make sure to ask the florist for extras!)
- Silk Ribbon
- Perfume
- Jewelry
.
3) Composition is Key
Let’s figure out which perspective you are going to take when it comes to shooting – horizontal or vertical?
How you arrange the items, will probably dictate the orientation of the photo.
But keep in mind that if you are shooting for a specific purpose (such as the Instagram grid), then you’ll have to pay attention to cropping. And more importantly, what you will lose in post.
.
4) Add in Your Items
Now we get to the fun part!
Start adding in the items you want to include in the photo, and let’s get creative!
I suggest starting with the largest item(s) first. Then later in the smaller items, creating depth, dimension and various focal points.
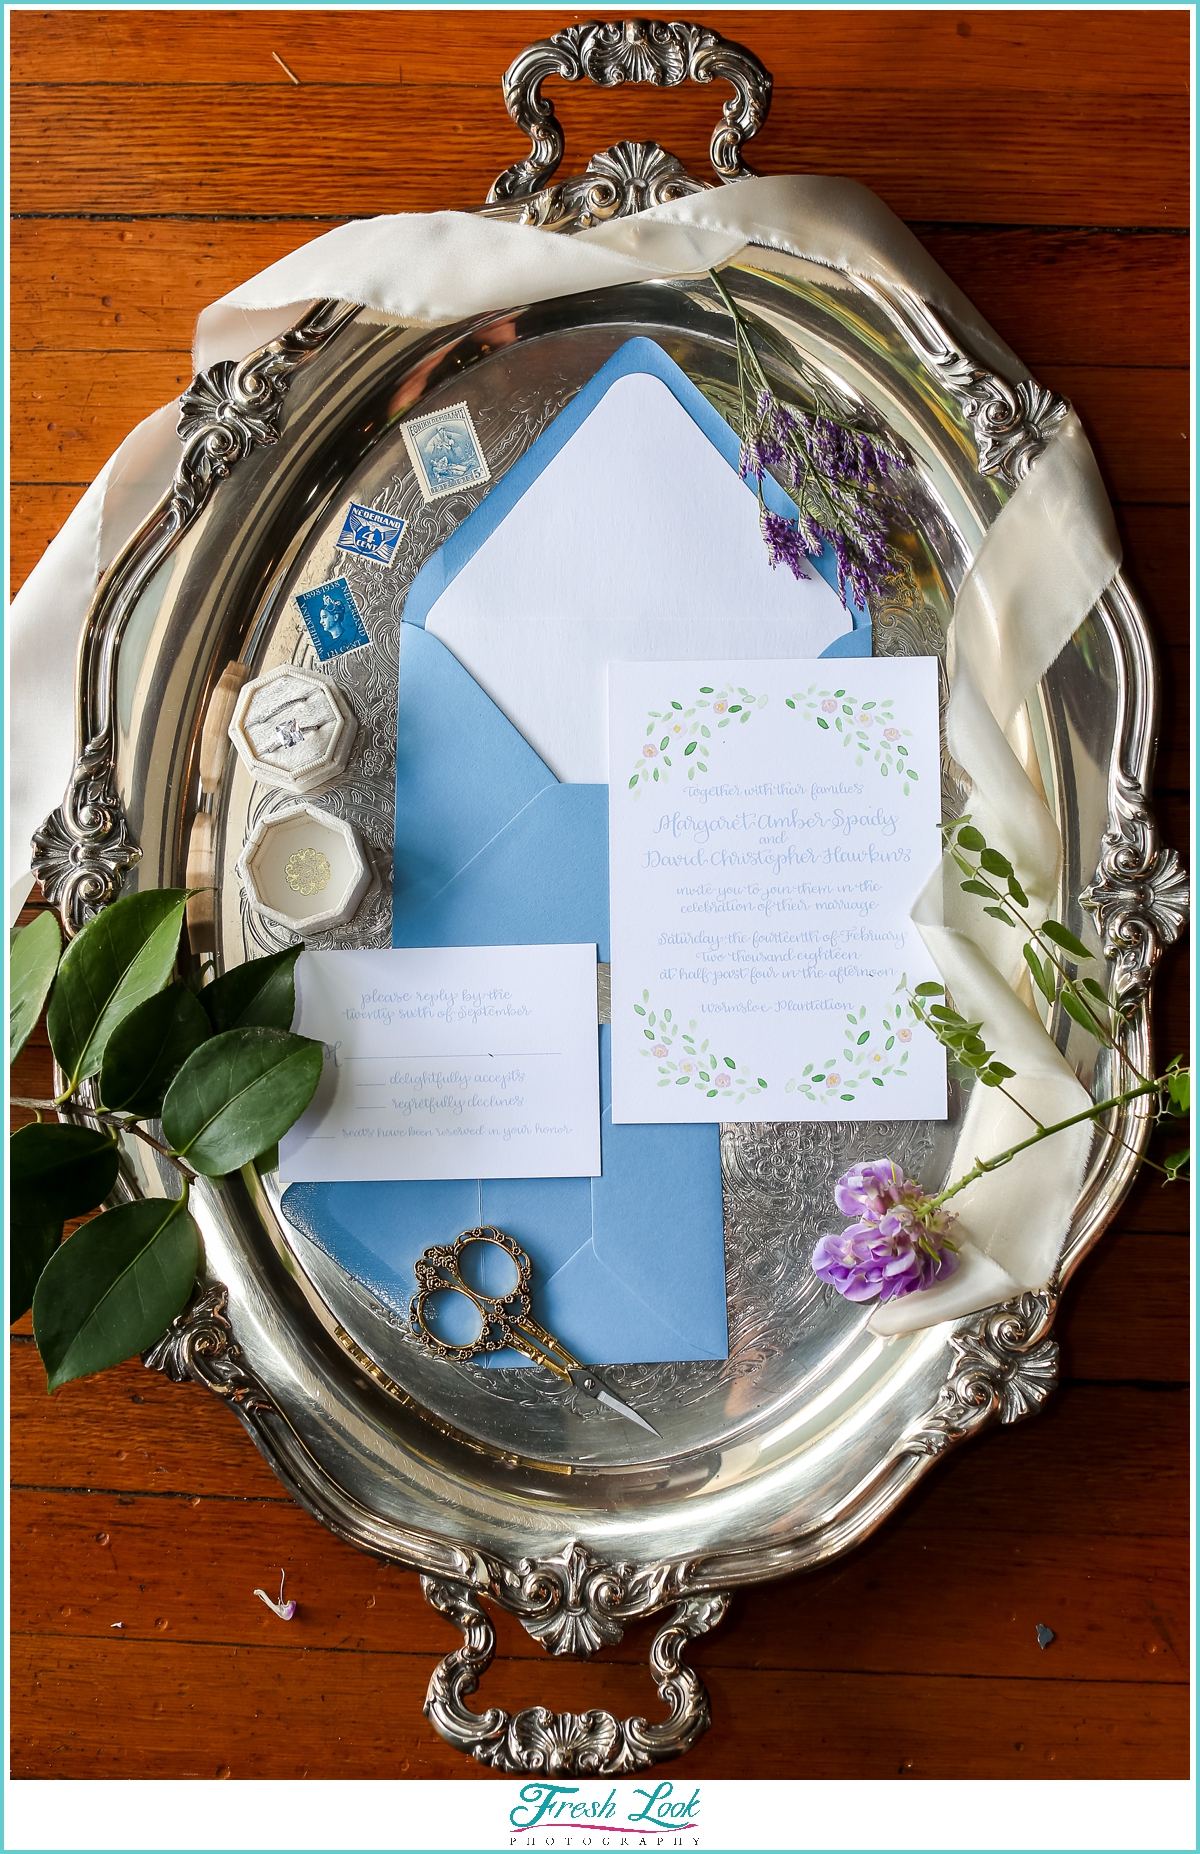
Here’s a practical example of how I would style a wedding invitation flat lay:
Choose background (in this case, a silver tray on a wooden floor).
Vertical orientation worked for this photo because it showed the entire tray and a little bit of the wood floor.
I laid the stationery pieces down first, then added in smaller elements (ring box, decorative scissors, etc).
Finally, I filled in the gaps by using loose floral pieces, vintage stamps, and draped silk ribbon around the tray.
Voila!
.
.
5) Take a Test Shot
Now that you’ve got all the elements in place, go ahead and snap a picture.
Take a look at the image, now what do you think?
Do you like it/not like it… is there something missing? Are all the borders and edges straight?
Once you have the initial composition, then you can go back and tweak until you have something that you are happy with.
You might totally nail it on the first shot (go ahead, rockstar!).
But for most of us (myself included), you will need to adjust slightly in order to get “the” shot.
No pressure, just keep playing and arranging until you have something you are happy with!
.
Now that you’ve got all this newfound knowledge for how to style flat lats for weddings in the (camera) bag, go forth and be awesome!
If you’re wondering what gear we use to create our images, check out what’s in our bag.
And, as always, if you ever need someone to help cheer you on in your photography journey, don’t hesitate to reach out by hitting the “Contact Us” button!
.


Leave A Comment