
This time of year, there are so many sights and sounds that help us make the season merry. And for me, one of the things that always manages to put me in a good mood is to see the twinkling lights on a tree, or the dazzling outdoor display’s that local attractions put up (like Norfolk Botanical Gardens or the Virginia Beach Boardwalk). Photographing Christmas lights doesn’t have to be difficult, and there are a few ways that you can get different effects to make your season more jolly!
Photographing Christmas Lights
 To Flash or Not to Flash
If you’re not fully in manual mode yet, it can be tempting to use flash to fill in a dark scene, but adding flash can often completely override the soft, dreamy quality that you typically get when photographing christmas lights.
9 times out of 10 I’m going to tell you that it’s better to not use your flash for shots like this, instead keep your shutter speed lower in order to let in more light. Usually you don’t want to drop your speed below 1/60 of a second, but for cases like this you might be down at 1/20 (or lower!), so it’s probably best to use a tripod or make sure your camera is stabilized on something (table, bench, etc).
As you can see in this picture of my niece, her face is well list because there is light coming from the dining room to her right, and light hitting her from a big window on her left. This makes sure that features are well lit, while still allowing me to blur out and capture the twinkling lights on the tree.
 Blurry Christmas Lights
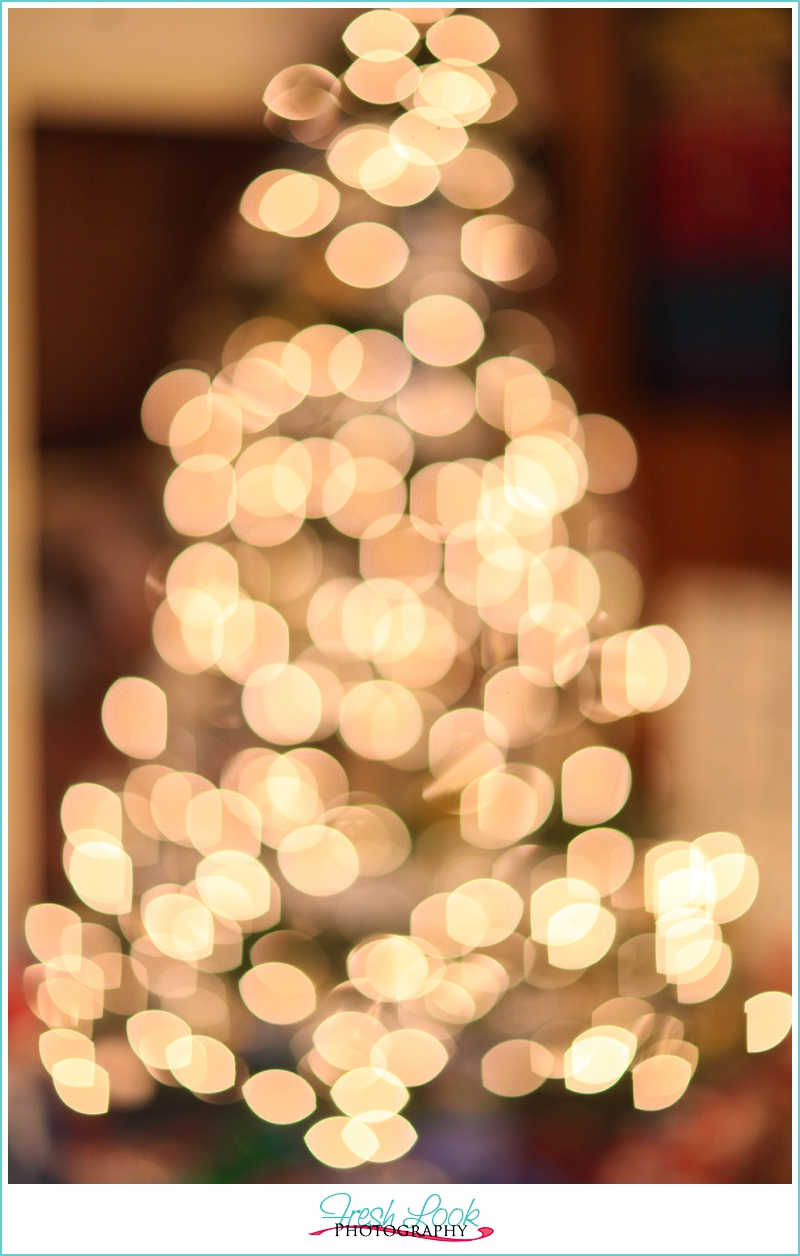
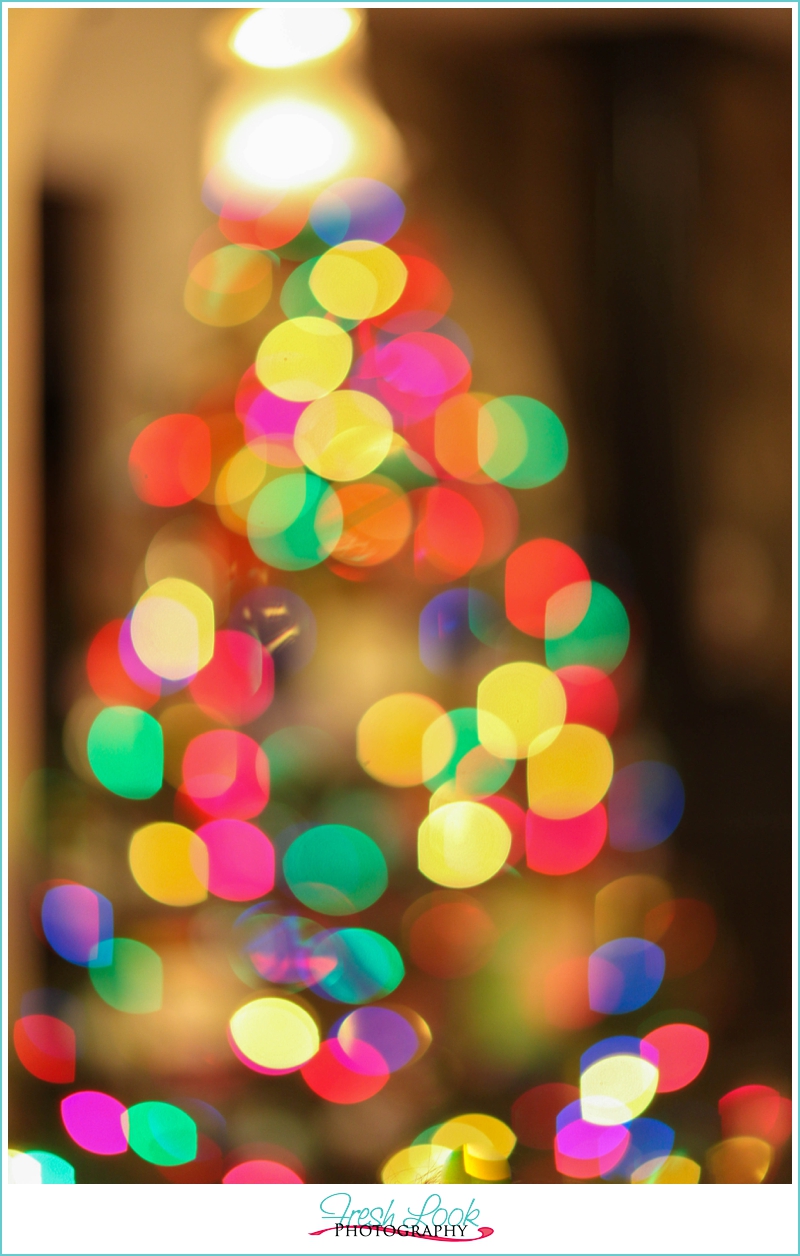
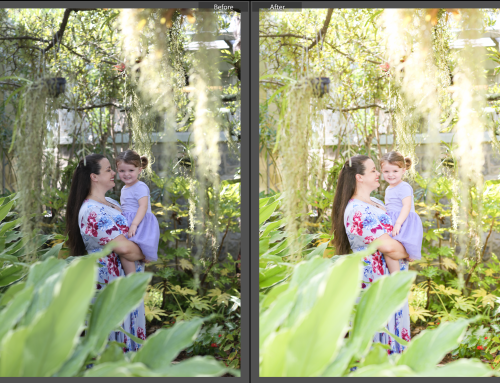
This effect is probably the easiest out of anything that we talk about today! Simply open your aperture as wide as it will go (that would be a low F-stop), and turn your lens to manual focus.
Instead of actually putting your focus on the tree, turn the focal ring until the tree is out of focus. This is what’s going to create that amazing bokeh! You can still tell what the subject is (the tree) but it’s a different way to photograph your surroundings. This is something to play with, and remember that there is no “right way” to do this. The one thing to keep in mind is that the blurrier the focal point, the bigger the bokeh (and larger the balls of light are going to look).
 Starburst Effect
This is another technique that is fairly easy, it just takes some time to master and get right. The outcome depends on what settings you use, as well as what gear you are working with.
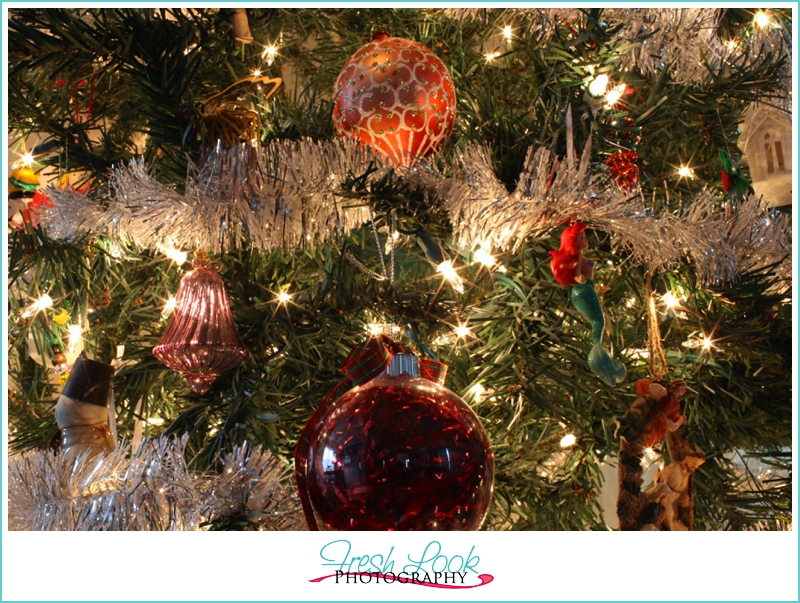
This image with the ornaments was taken this morning using the Canon 5D Mark II and a 35mm prime lens, and here are the settings I used: F/22, ISO 1000, 1 second.
For this picture, I set the F-stop as high as it would go for my 35mm lens. It is a bit of an extreme example though. You can get the same effect (although somewhat less pronounced) starting around F/11 and higher. I definitely recommend playing around with your settings to see what your camera can produce and what your lens is capable of!
 Focusing on Your Subject
Remember, You can make the “balls” of light bigger by increasing the distance between your in focus subject and the out of focus lights in the background. In most cases the larger your aperture (F-stop) is, the rounder the ball. But if you use a slightly smaller aperture you may find your bokeh becomes more hexagonal. The number of sides the point of light has will depend upon how many blades your lens has.
The key for achieving this effect is to shoot at the larger end of your available aperture – this makes the background of your shot out of focus and any Christmas lights in the background will turn into those gorgeous little balls of light.


Leave A Comment